Raspberry Pi Pico Configuration
Start a project with raspberry Pico is very easy. You only have to follow the next steps:
- Install Thonny IDE.
- Open Thonny IDE.
- Connect the Raspberry Pi Pico to the Computer.
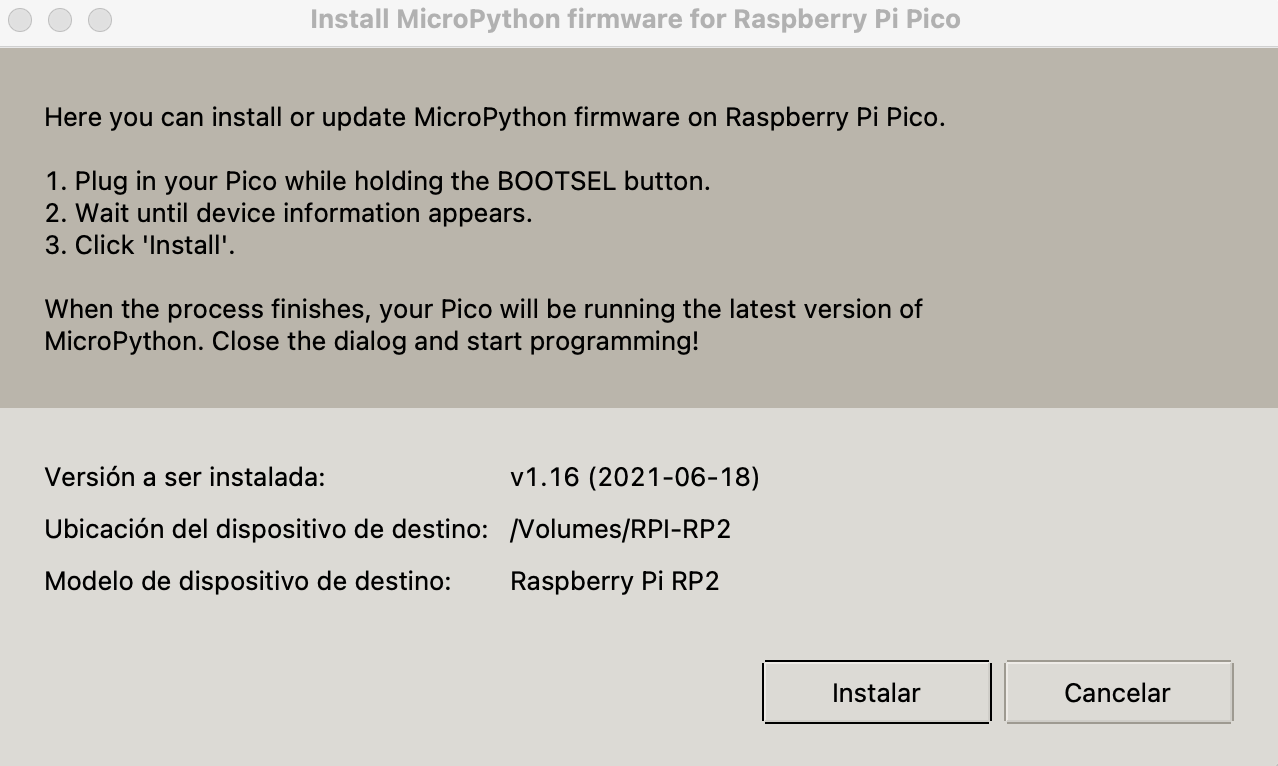
- Thonny IDE detect it automatically and it shows a installation window to install or update Micropython into the Raspberry Pi Pico. Like in the image of the bottom (Figure 1):
- Follow the installation steps of the window and click in install.
- Sometimes a window from the Operation System appears indicating that the unit disc have been ejected incorrectly. This message can be ignored.
- Run the following program into the Thonny IDE to test that everything work correctly.
from machine import Pin
import time
led = Pin(25, Pin.OUT)

while True:
    led.high()
    time.sleep(1)
    led.low()
    time.sleep(1)
If the led embedded into the board blink with a second difference everything is correctly. Otherwise revise again all the steps.
Figure 1:

